17th July 2020
Occasionally photographs are taken on a gloomy day, a room has little or no light, or the colour balance is completely off.
Editing 360 photographs can seem daunting as the 4k quality is spread across an entire frame making the file a large size.
Many editing platforms will compress your JPEG that you take from the camera, which will decrease the quality of your image. This is also the case when you Whatsapp, email or send the image over a platform instead of uploading it.
When you have downloaded the image to your phone, we recommend uploading it to a file stream such as Google Drive or Dropbox if you use them, or transferring the file over Wetransfer.com which has a free option. Email can also be used, as long as you ensure the file is sent as its original file size and bear in mind it will take a little while to send.
As you are handling high quality, large files, we recommend using Photoshop for your image editing. it is commonly believed that Photoshop is expensive, but if you invest as a single App you can download it for around £10 a month.
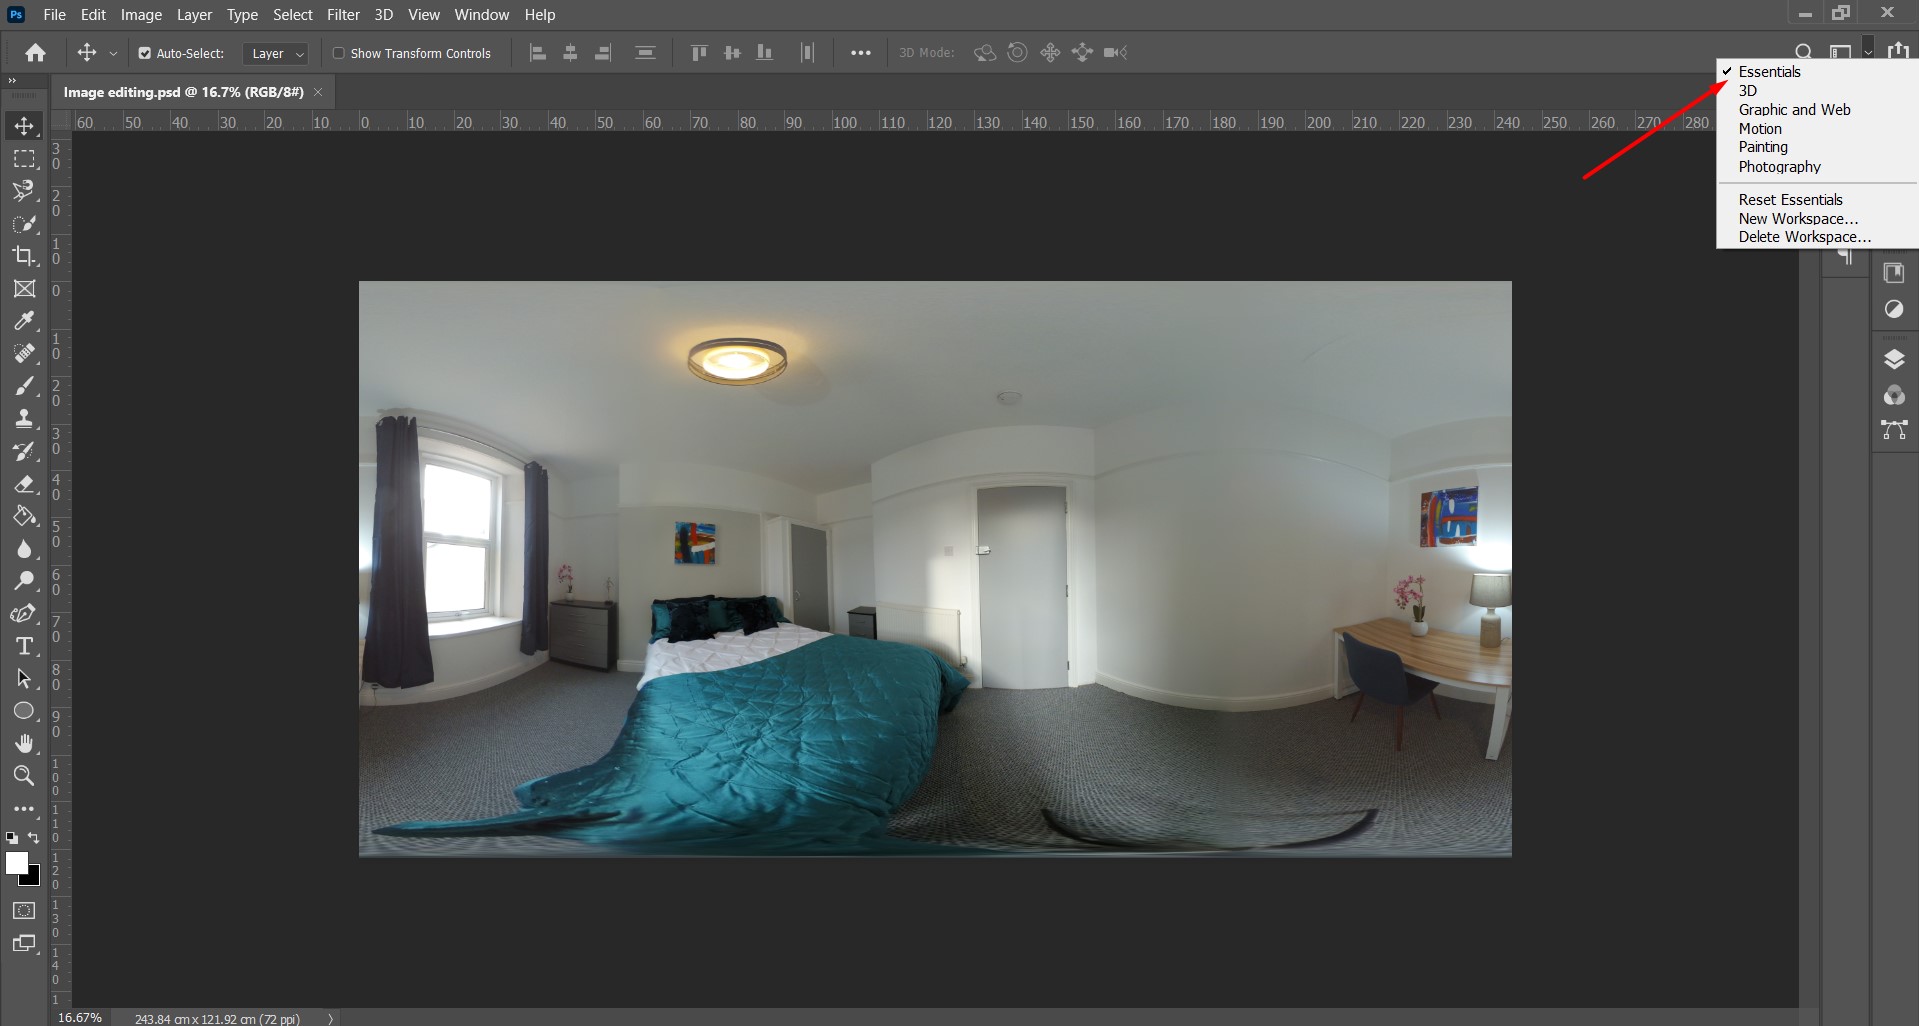
Photoshop will often look different depending on which viewer you are using. You can change the viewer in the top right corner, below the exit symbol.
For the purpose of this blog, we are using 'Essentials'.
We are going to show you some of our favourite (simple) tools for editing your images.
Often an image is simply too dark, or too bright. The shadows/highlight tool is a quick fix for this and can be mainly adjusted with a preview until the image fits your expectations.
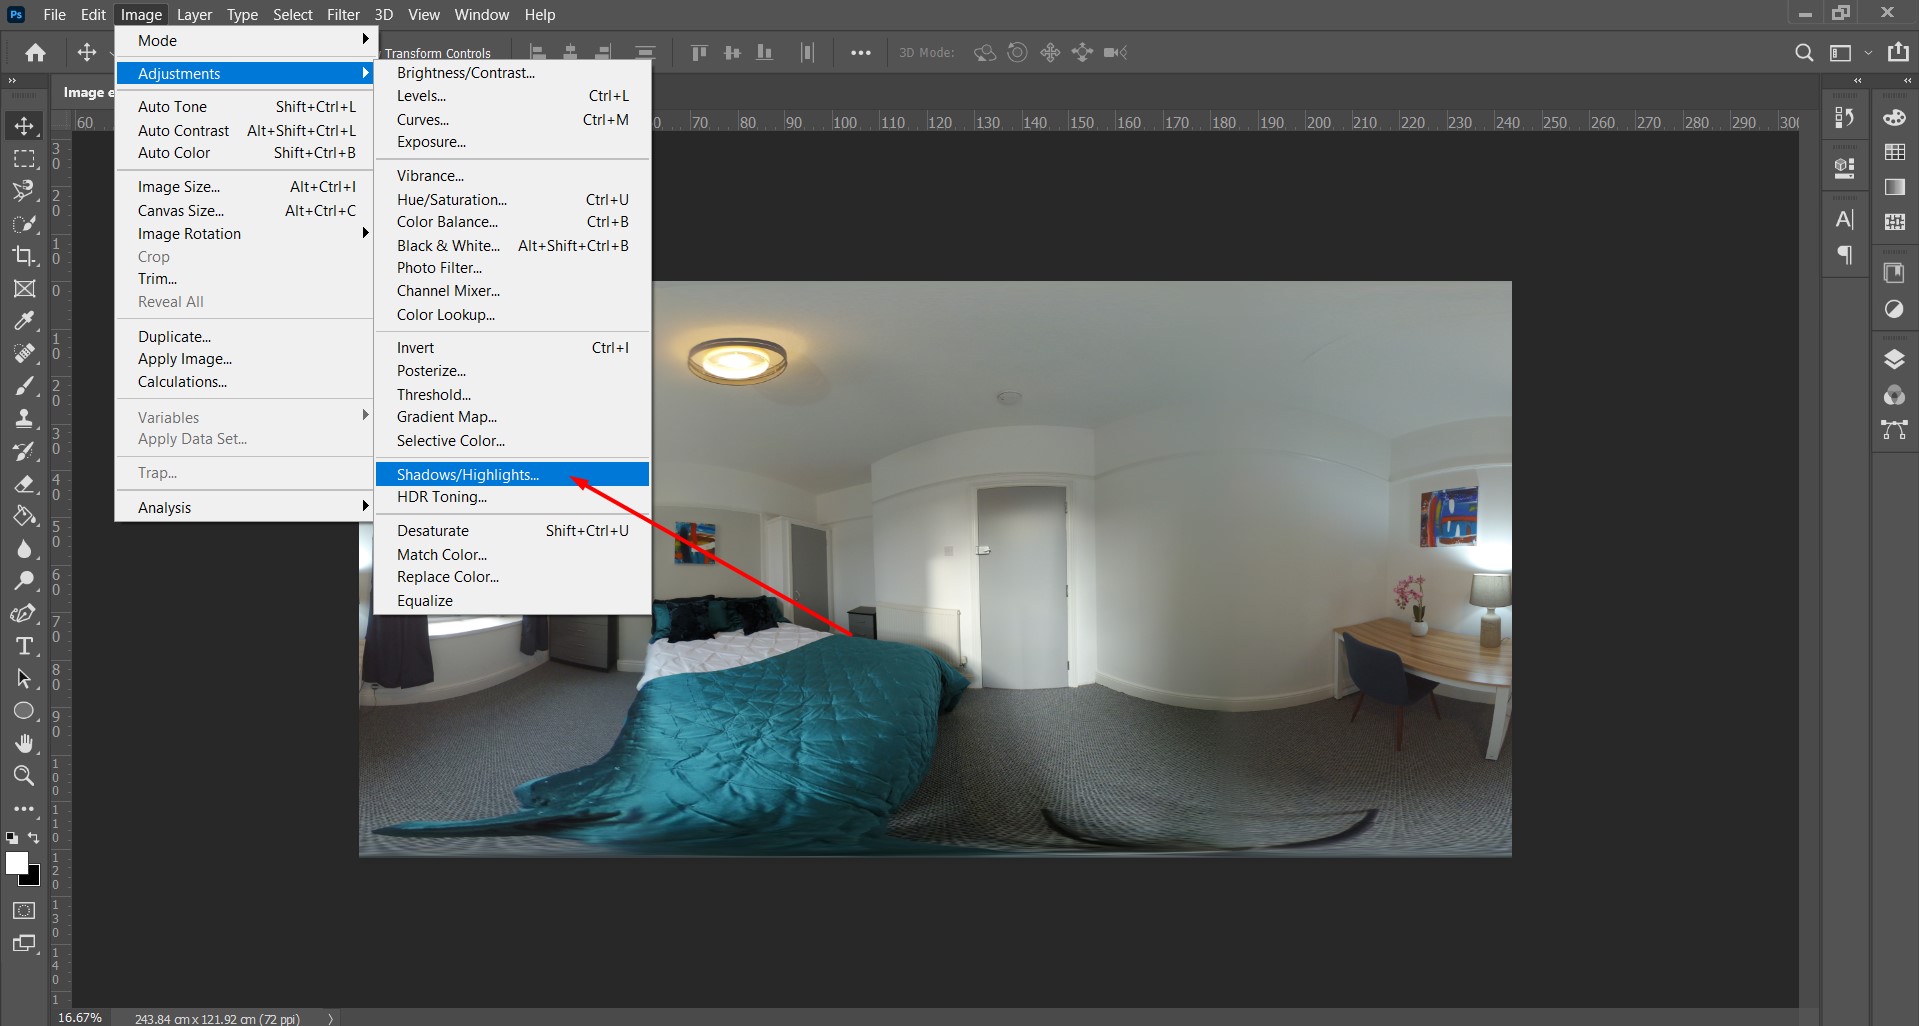

The changes are subtle, not making the image seem edited which can make the viewer question the reliability of the image.
Notice:
- The window was blown out with highlights and the detail has been brought back in
- The dark shadows have been lifted
- More detail around the light
- Better balance across the room
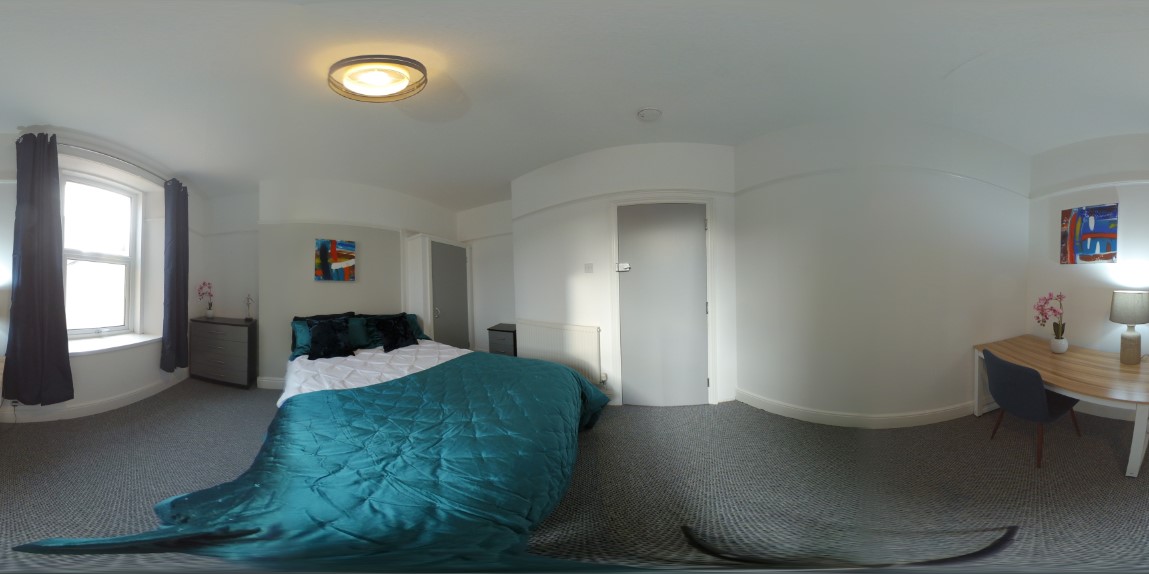
Before
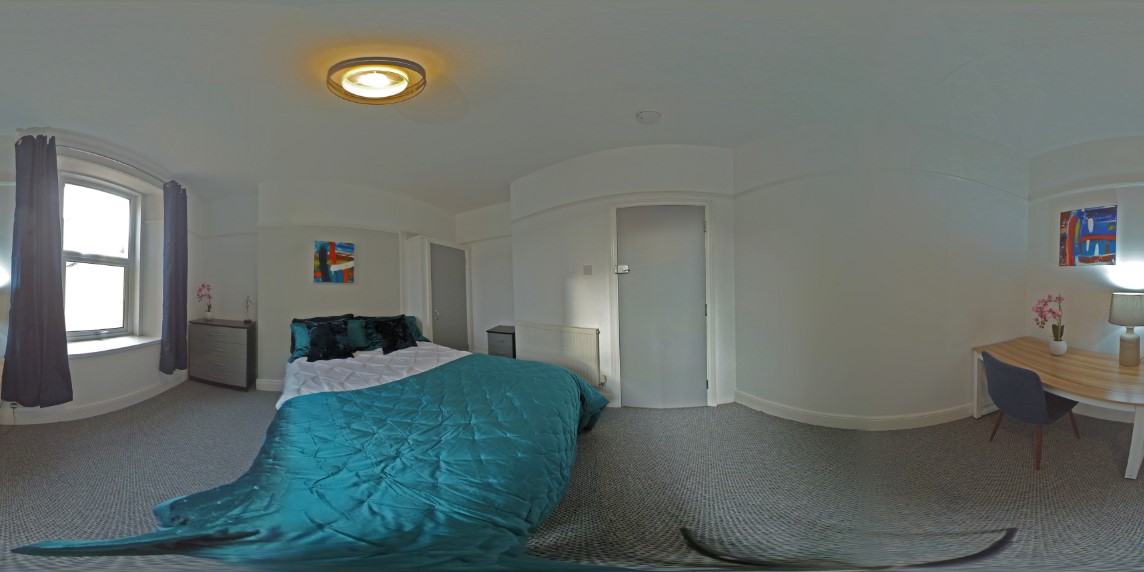
After
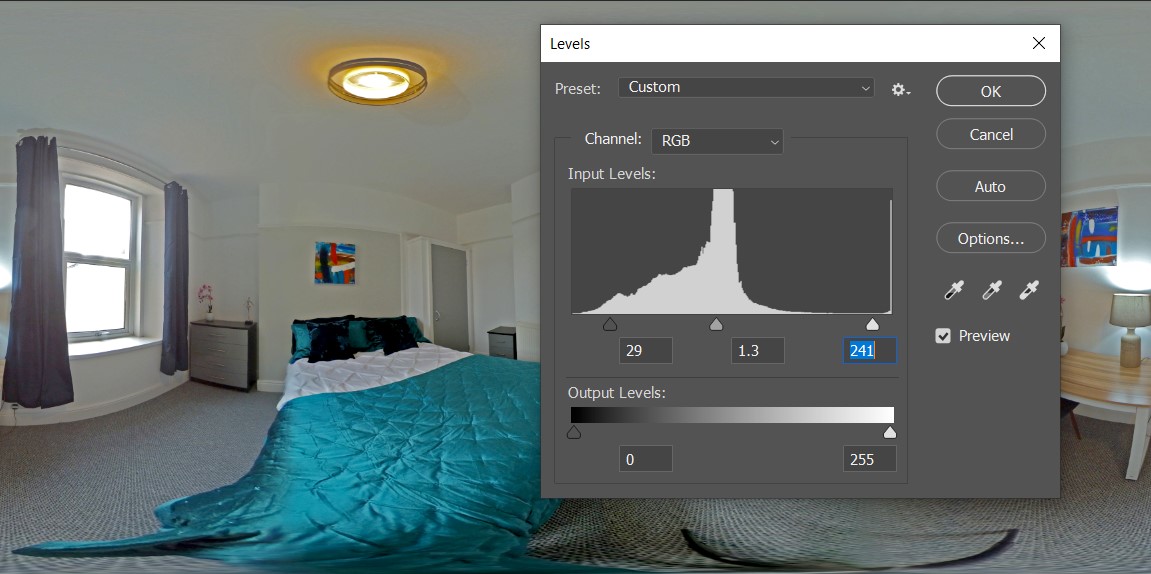
Another one of our go-to tools is Levels. You can also find this in Image - Adjustments, or press Ctrl + L.
This tool is particular helpful when there is a lack of definition in an image, or highlights are blown out in the sky or windows.
Levels allows you to control the Black, Mid Tones and Highlights all in one place.
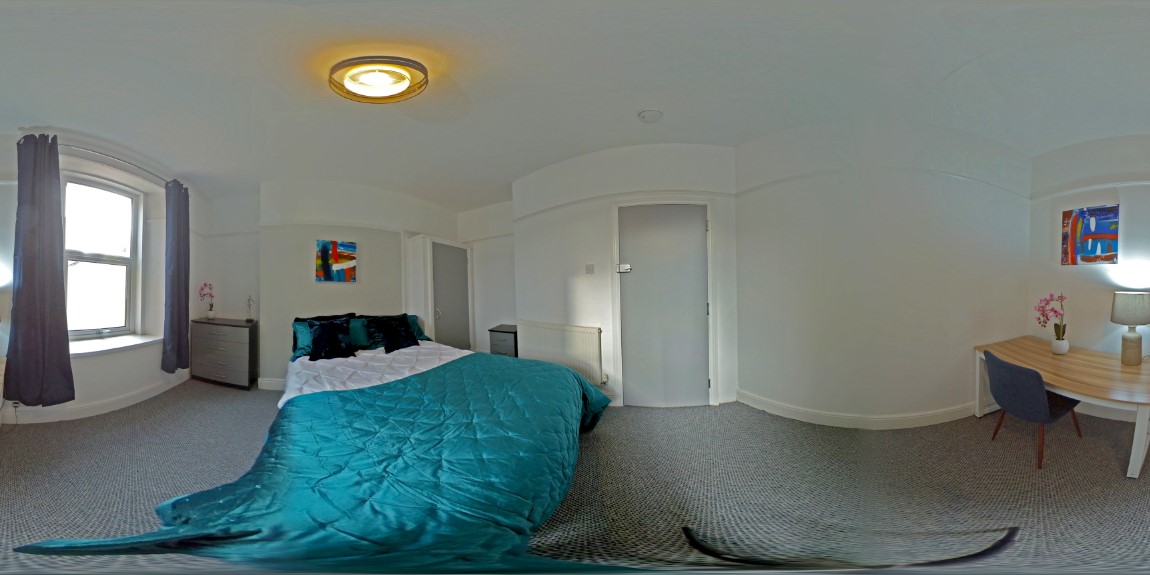
The final product...

29th September 2020
Adjusting the brightness on your camera
How to adjust the exposure of your photographs within the MiSphere app
Read More

10th July 2020
Adding a Facebook Pixel to your tours
Add a Facebook Pixel to your virtual tours to target your portal traffic with Facebook Ads
Read More

1st July 2020
Adding your business to Google street view
Your 360 photographs can be added to Google street view.
Read More

12th June 2020
How To Rent Guide updates
We have designed a tool that checks the government website every hour for updates
Read More